Installing Engineered Wood Flooring
Flooring Options
Welcome to JC's Flooring, your trusted experts in home and garden interior design. Whether you are renovating your existing space or building a new home, engineered wood flooring is an excellent choice that combines beauty, durability, and sustainability. In this comprehensive guide, we will walk you through the process of installing engineered wood flooring, providing you with all the necessary information and tips to ensure a successful installation.
Understanding Engineered Wood Flooring
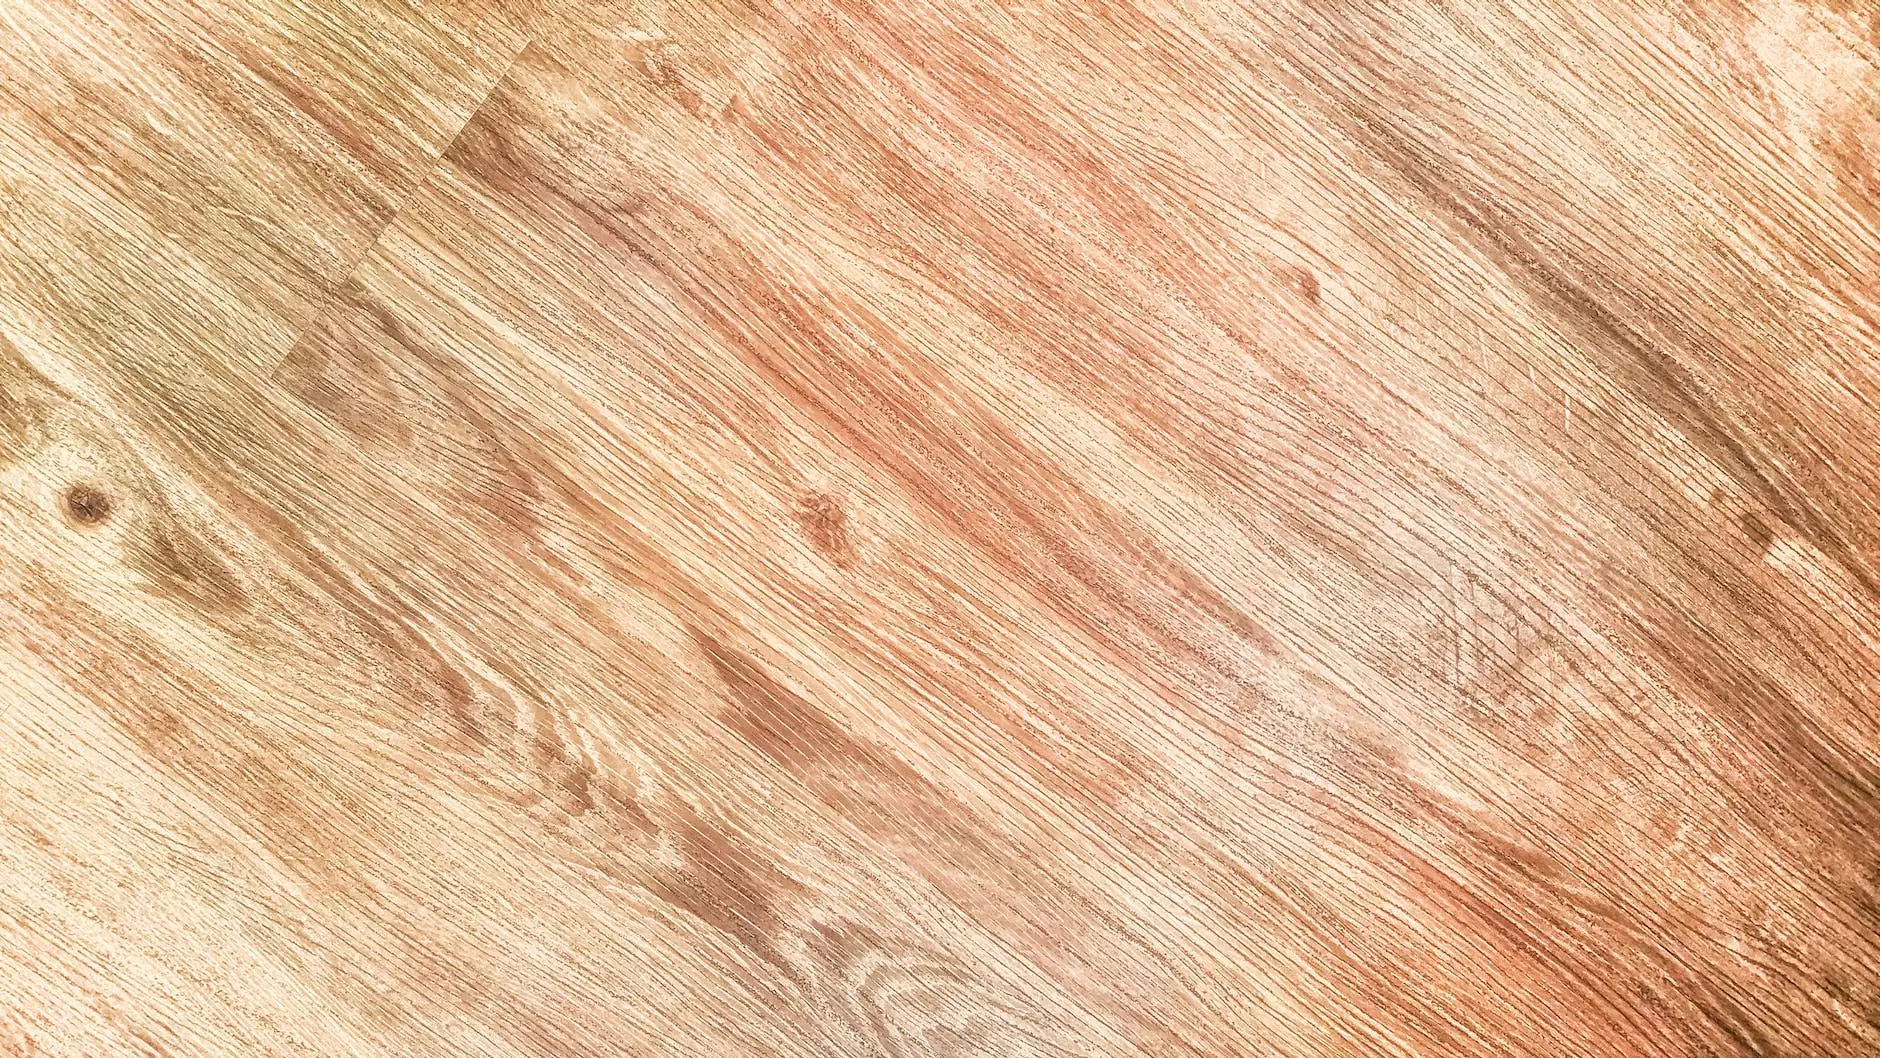
Engineered wood flooring is made up of multiple layers of real wood, providing a stable and durable flooring option that can withstand changes in temperature and humidity. The top layer, known as the veneer, consists of high-quality hardwood, giving engineered wood flooring its natural and authentic appearance. The core layers are typically made of cross-layered plywood, enhancing the stability and strength of the flooring.
With its versatility and adaptability, engineered wood flooring can be installed in various areas of your home, including living rooms, bedrooms, kitchens, and even basements. It can be floated, glued, or nailed down, depending on your preferences and the specific installation requirements.
The Installation Process
Step 1: Pre-Installation Preparation
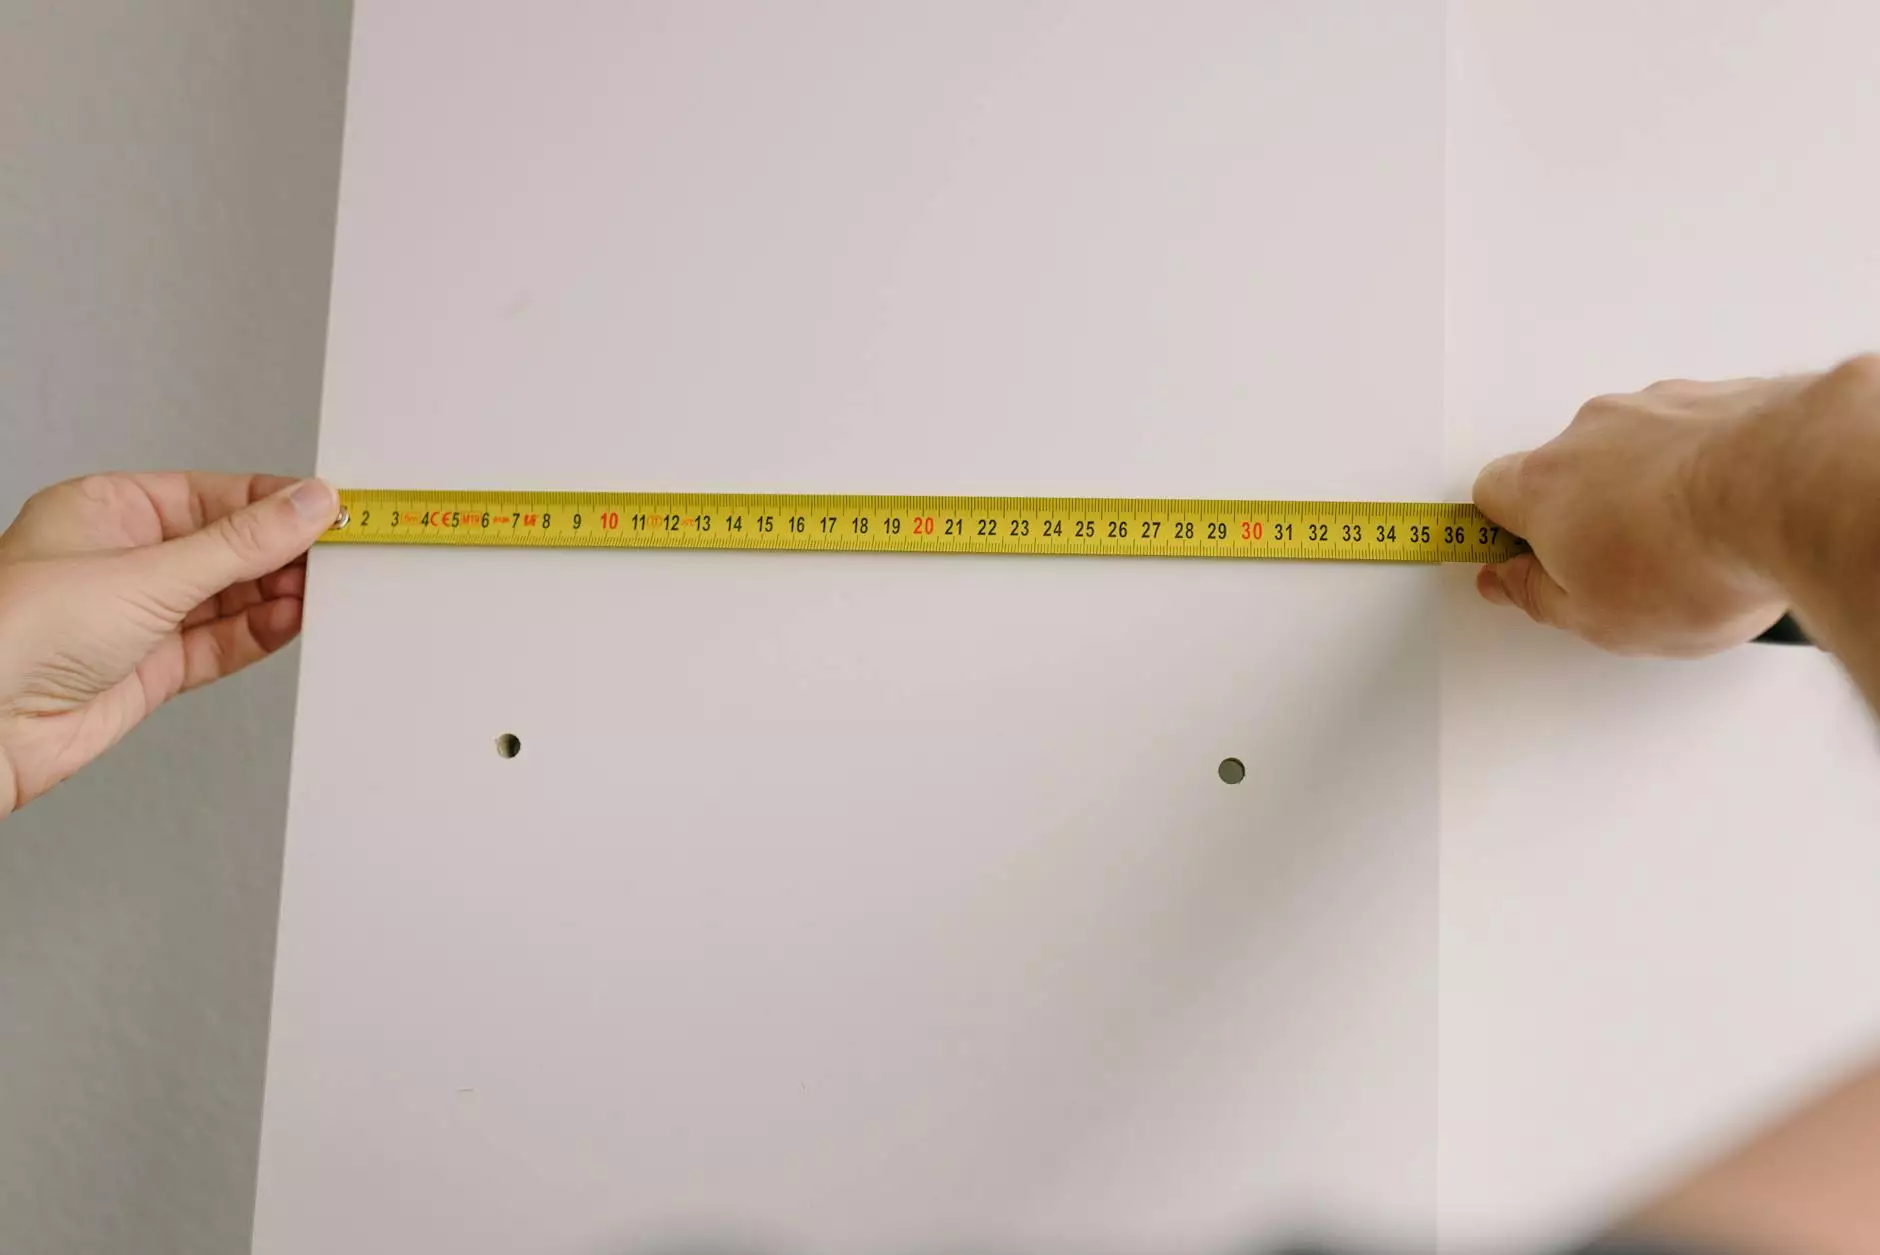
Before you begin installing engineered wood flooring, it's important to prepare the area properly. Start by ensuring that the subfloor is clean, dry, and level. Remove any existing flooring materials, including carpet, laminate, or tile, and repair any imperfections in the subfloor. This will provide a smooth and even surface for the new flooring.
Step 2: Acclimation
Engineered wood flooring needs to acclimate to the environment in which it will be installed. This helps prevent any potential issues with expansion or contraction after the installation. Follow the manufacturer's guidelines for acclimation, which usually involves letting the flooring sit in the room for a specified period of time.
Step 3: Installation Method
There are different installation methods for engineered wood flooring, including floating, glue-down, and nail-down. The method you choose will depend on your specific situation and personal preferences. Consult with a professional or refer to the manufacturer's instructions to determine the best method for your project.
Step 4: Floor Preparation
Prior to installation, it's essential to lay down an underlayment or moisture barrier to protect the flooring from moisture and provide added stability. This will also help reduce noise and improve insulation. Carefully measure and cut the underlayment to fit the space, ensuring a snug and secure fit.
Step 5: Installation
Begin the installation by laying the first row of engineered wood flooring along the longest wall, with the groove side facing the wall. Use spacers to maintain proper expansion gaps between the flooring and walls. Install subsequent rows, interlocking the tongue and groove edges. Use a tapping block and mallet to ensure a tight fit, gently tapping the planks into place.
Step 6: Finishing
After the flooring has been installed, it's time to add the finishing touches. Install any necessary trim, such as baseboards or quarter-rounds, to cover the expansion gaps and create a polished look. Thoroughly clean the floor, removing any dust or debris, and apply a recommended finish or sealant to protect the wood and enhance its natural beauty.
Maintaining Engineered Wood Flooring
Proper maintenance is key to ensuring the longevity and beauty of your engineered wood flooring. Here are some tips to keep your floors looking their best:
- Regular Cleaning: Sweep or vacuum your floors regularly to remove dirt and debris that can cause scratches. Use a damp mop or microfiber cloth for routine cleaning.
- Preventing Damage: Place doormats at entrances to catch dirt and prevent it from being tracked onto your floors. Use felt pads on furniture legs to avoid scratches and protect the surface.
- Avoid Excess Moisture: Wipe up spills immediately to prevent water damage. Use a slightly damp cloth for sticky spills, but avoid excessive moisture that can seep into the wood.
- Protecting from UV Rays: Direct sunlight can cause the color of the wood to fade over time. Consider using window coverings or applying UV-protective coatings to shield your floors.
- Periodic Maintenance: Depending on the type of finish, periodically apply appropriate cleaning and maintenance products recommended by the manufacturer. This will help restore the shine and protect the wood.
Choose JC's Flooring for Your Engineered Wood Flooring Needs
When it comes to installing engineered wood flooring, trust the experts at JC's Flooring. With our years of experience in home and garden interior design, we can assist you in selecting the perfect flooring option for your space and provide professional installation services tailored to your specific requirements.
Contact JC's Flooring today to schedule a consultation and start transforming your home with the beauty and elegance of engineered wood flooring. Enhance your living space and add value to your home with our unparalleled expertise and quality products.